Conditions Block
The Conditions block lets you create branching logic in your workflow by evaluating one or more conditions.
When the block runs, it checks each condition in order. If a condition is true, the workflow follows the path connected to that condition's output. If no condition is met, the workflow follows the Else output.
Open the condition builder to learn how to build a condition.
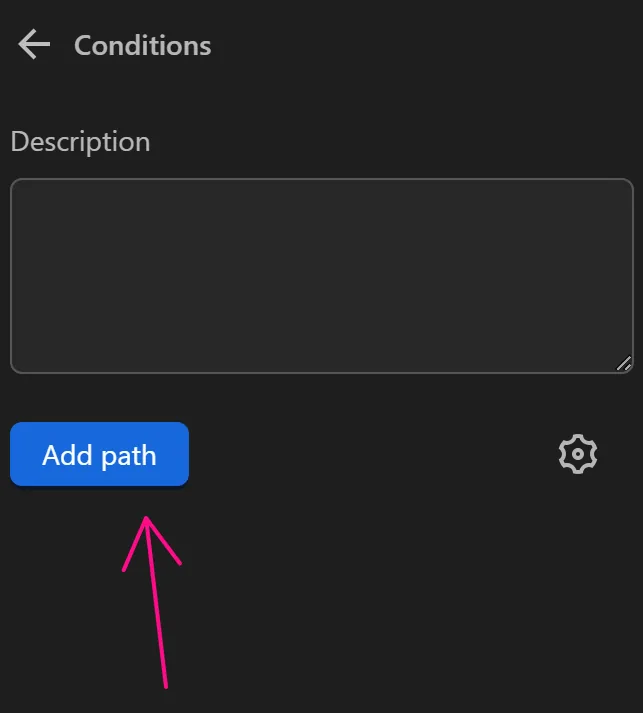
Add path
Add conditions to use in the node
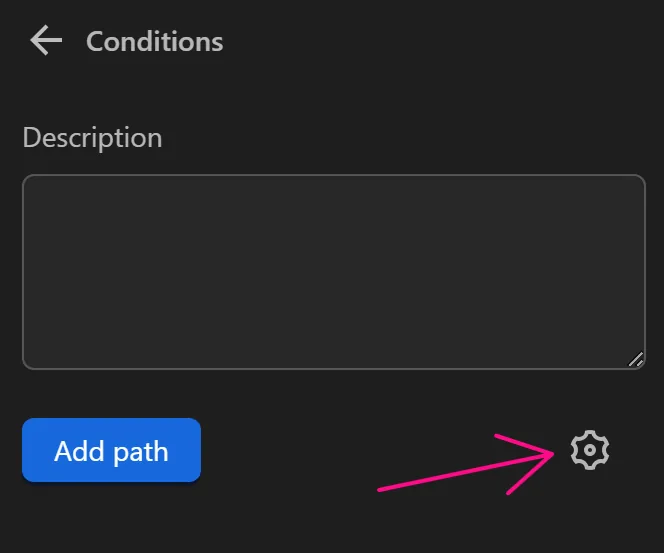
Settings
Select settings to apply additional requirements to the node
Check Conditions Simultaneously
Check all conditions at the same time
Retry if All Conditions Are Not Met
When enabled, the Conditions block retries evaluation a specified number of times if no condition is met.
Time Limit (seconds)
The time for each execution of the Conditions node
Edit Conditions
Access the condition table to edit conditions
Delete Conditions
Delete the desired condition
Practical Example
Case with One Correct Conditions Branch
Example
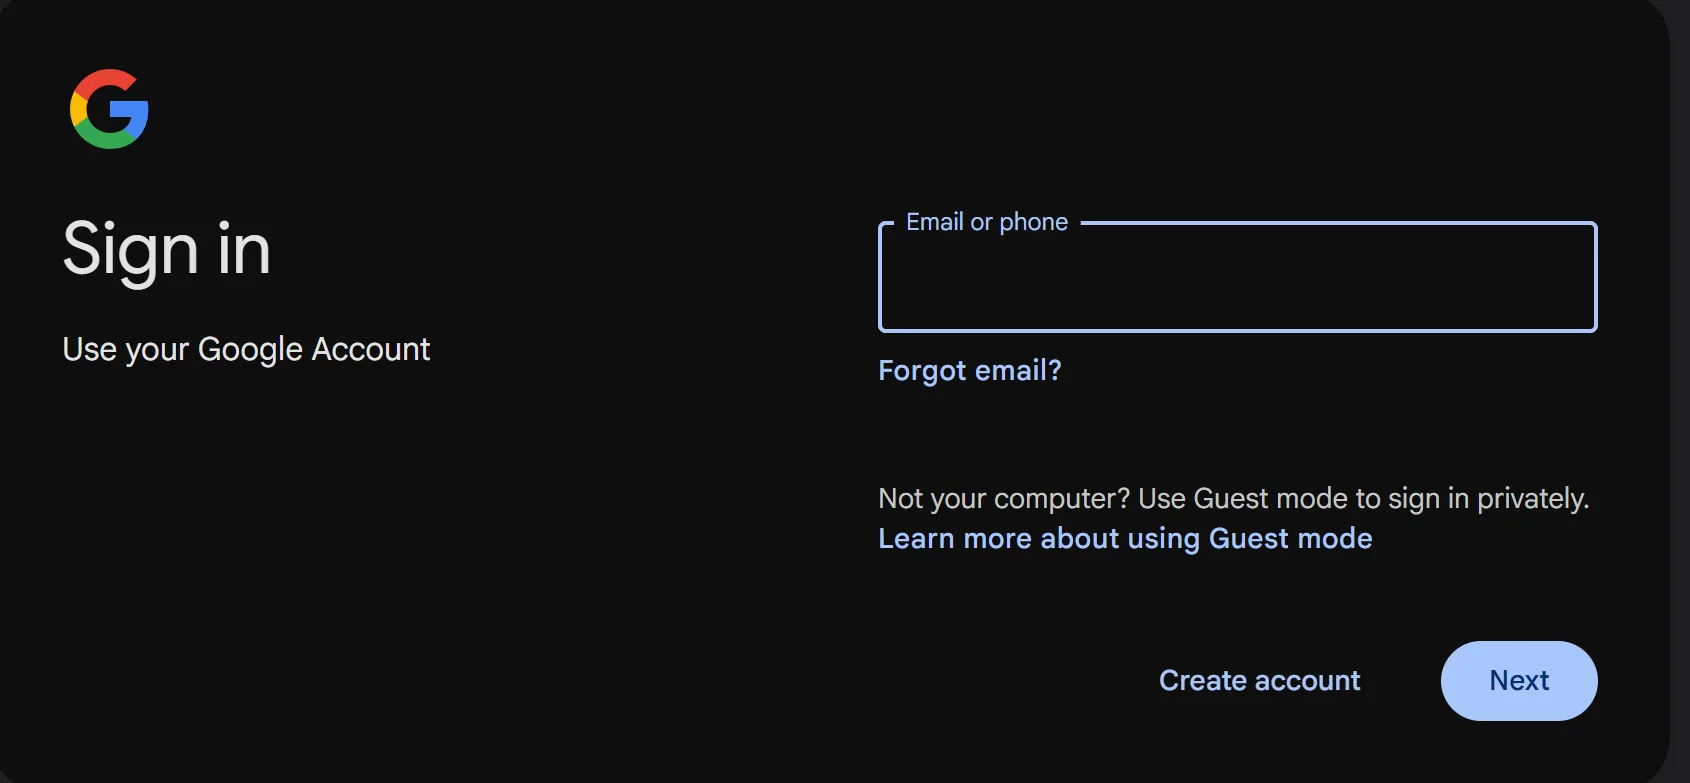
Here, you will use the Conditions node in the Google account login process
In this process, after clicking the Sign in button, the Google account input page will appear. Normally, the page loads quite quickly, but in some cases with a slow network, you will add the Conditions node after the Click element node to check if the account input page has appeared

You will configure the Conditions node as follows
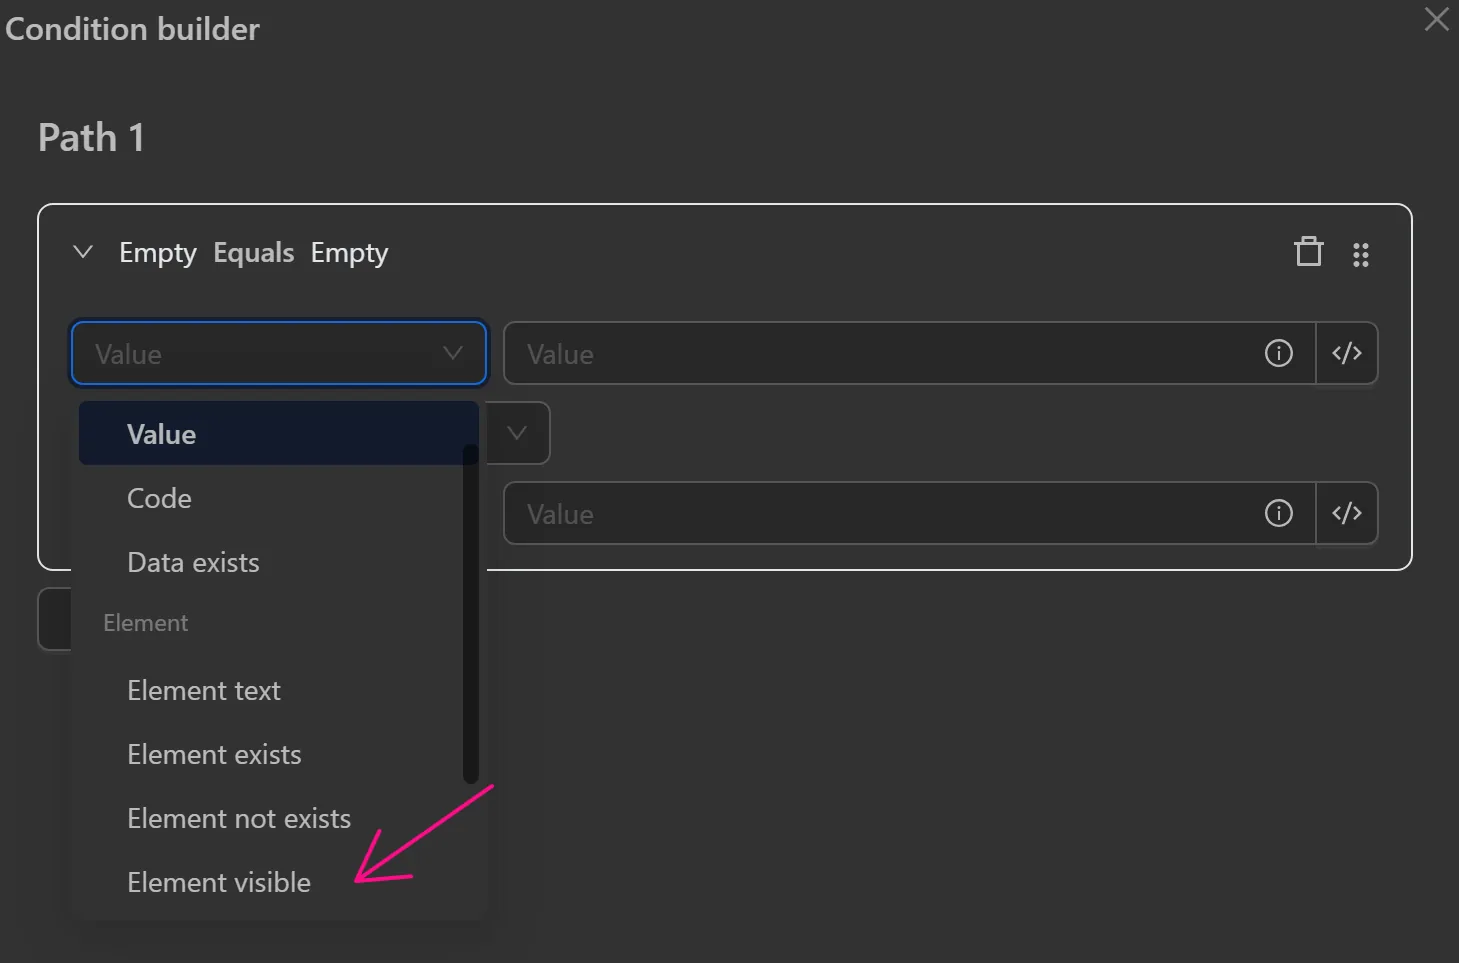
First, add a condition and configure it in the condition table
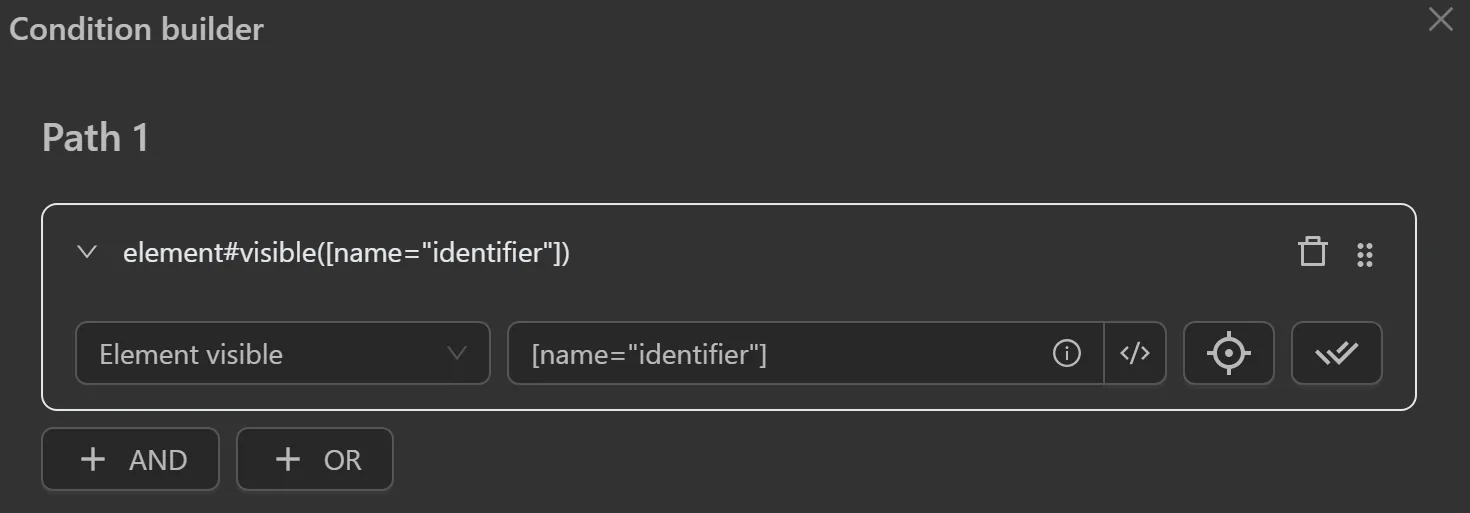
Open the condition table and click on the first Value field. There are many types to choose from depending on the need. Since you want to check if the account input field is visible, you will use the Element visible option.
To check if the account input field is visible, obtain its selector and enter it into the appropriate field. The node will then look like this.
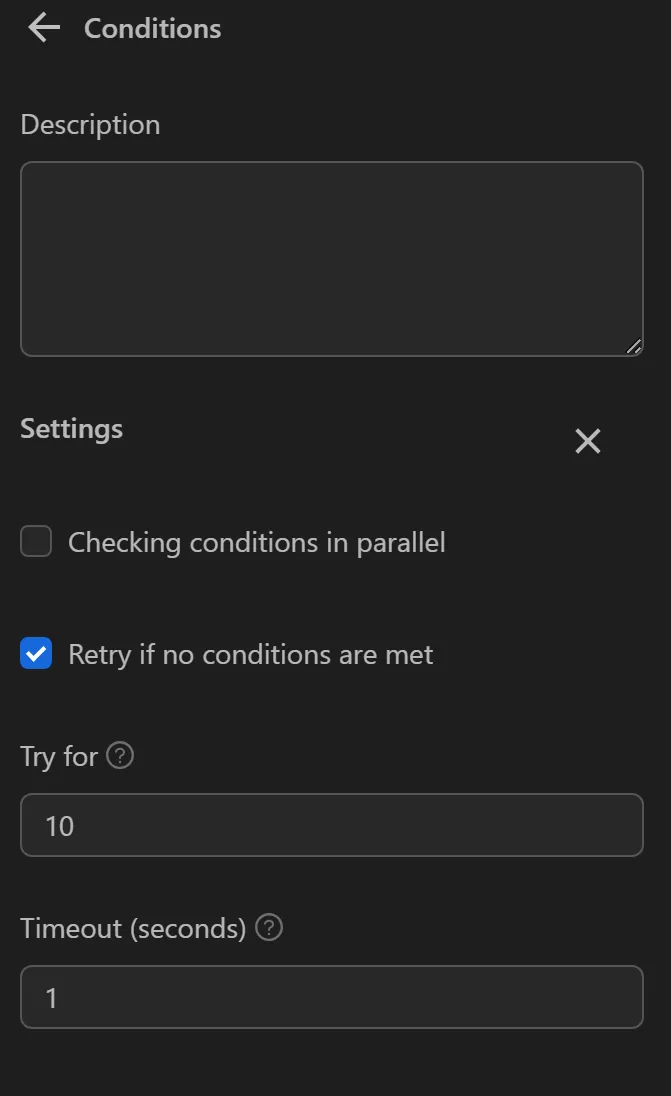
Additionally, you can configure the retry time for the Conditions node to check as follows. In the image, you will retry 10 more times with each attempt lasting 1 second, making the total execution time of this node 4 seconds if no condition is met
To verify if the condition is met, create two Write Log nodes for the true and false outcomes. The node cluster will then look like this
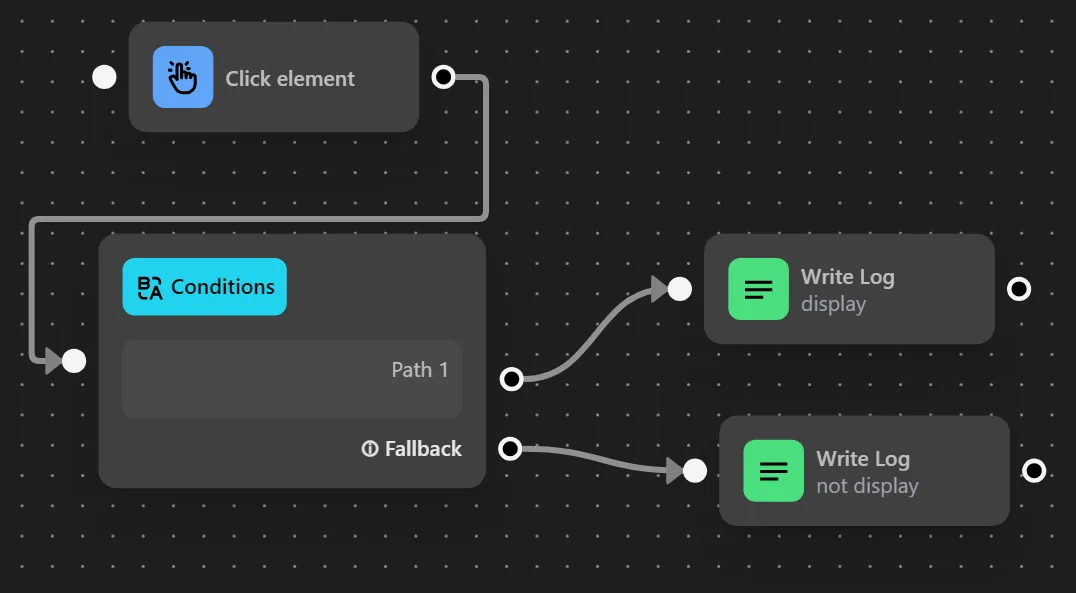
When running, you will see that the account input page has appeared -> the condition is true, and the process will proceed to the Write Log node with the description displayed
Case Requiring Multiple Correct Conditions Branches
Example
Here you will use the Conditions node in the Yahoo account login process
In this process, after clicking the Create an account button, the page for entering first name, last name, password, and address for Yahoo will appear. Normally, the page loads quite quickly, but in some cases with a slow network, you will add the Conditions node after the Click element node to check if the account information input fields have appeared


You will configure the Conditions node as follows
First, add a condition and configure it in the condition table.
Since you want to check multiple elements at once to perform the input action, you will use the And condition type
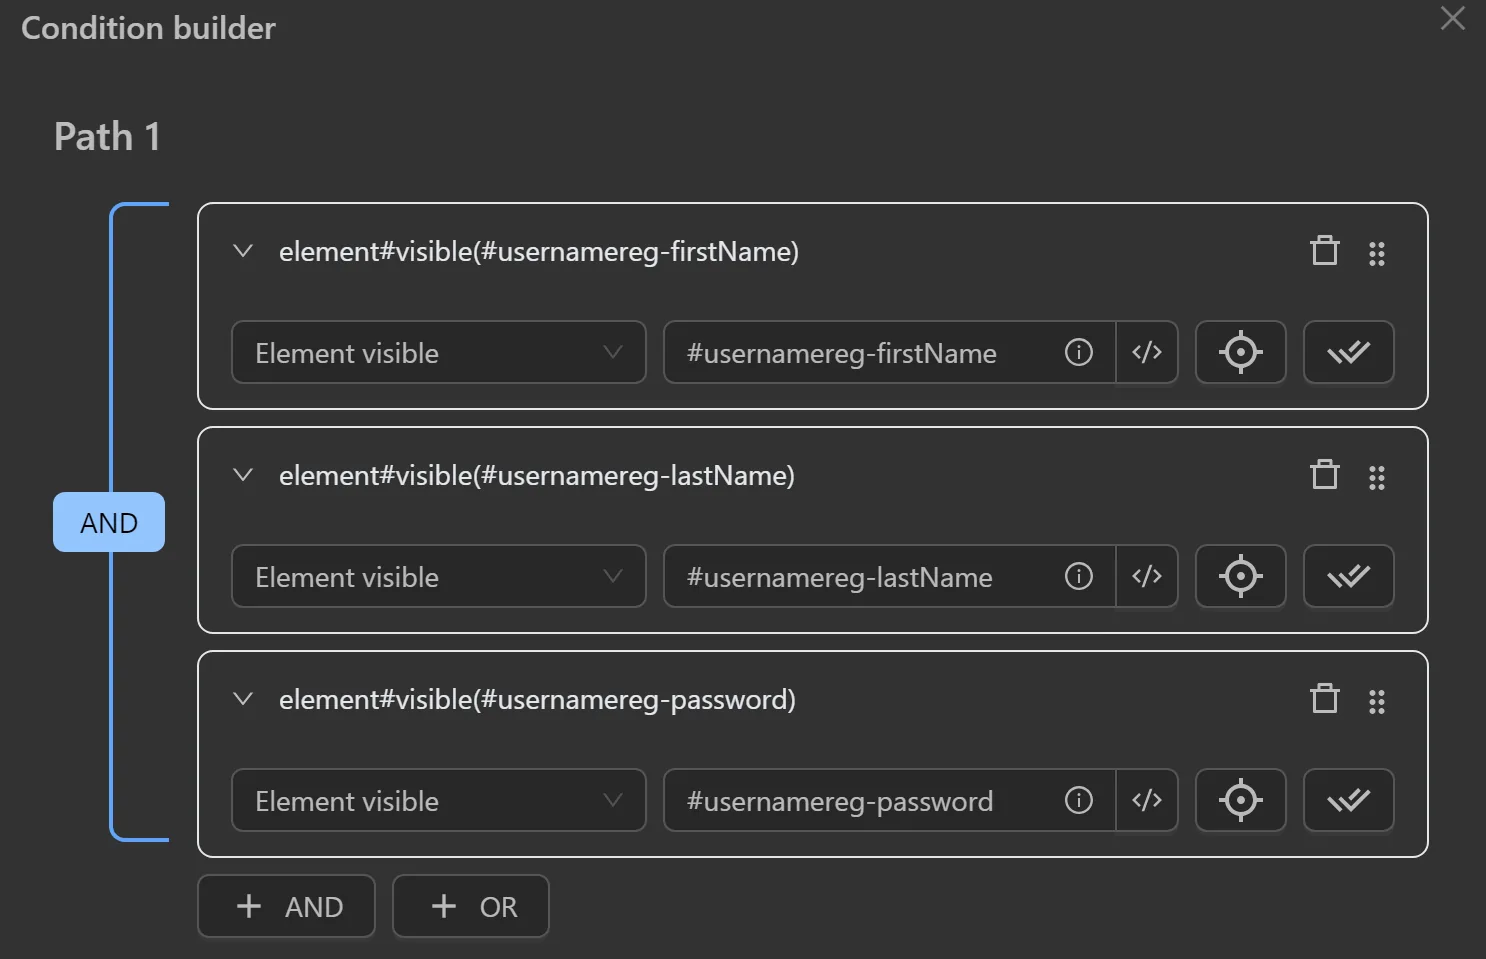
Open the condition table and click on the first Value field. There are many types to choose from depending on the need. Since you want to check if the first name, last name, and password fields are visible, you will use the Element visible option.
To check if these fields are visible on the screen, you need to obtain the selectors for the first name, last name, and password input fields.
Additionally you can configure the retry time for the Conditions node to check as follows. In the image, you will retry 3 more times with each attempt lasting 1 second, making the total execution time of this node 4 seconds if no condition is met
To see more clearly whether the condition is met, you will create two Write Log nodes to connect when the condition is true or false. The node cluster will then look like this
When running you will see that the account input page has appeared -> the condition is true, and the process will proceed to the Write Log node with the description displayed
Note
You can edit the order of conditions as follows